Showing posts with label Cookies. Show all posts

Monday, November 5, 2012

Post Bake Sale Baking Haitus

Last week I spent 6 days in Virginia visiting my family. My Grandmother passed away on Thursday the 25th, and I flew out with Doodle Bug and my dad on Friday the 26th to celebrate her life with my mom's family. While I was in Courtland (a tiny town with the population of about 2,000 at most) I was able to flip through some of my Grandmother's cookbooks. I came home with many different southern recipes and my Great-Grandmother's recipe for caramel icing (I can't wait to try). My Grandfather gave me a rolling pin and one of my Grandmother's 8x8 baking dishes as well. I know that every time I roll out my cookies she will be smiling down at me.

When I returned to work on November 1st, I knew I had my work cut out for me. I had grading, recording, and organizing of papers that would take days to complete. I was overwhelmed before the first bell even rang. All of my anxiety quickly melted away as my 6th graders began to enter the classroom. They smiled, ran over, and hugged me (the real genuine kind). I felt so blessed to have such a wonderful class to come "home" to. They made me card,s and throughout the day different students would randomly place them on my desk. I think they must have known that I needed their love and encouragement to get through my first day back in one piece. This is the kind of class that career teachers will teach for 20 years just waiting for. It's the kind of class that one dreams of having... and I am beyond appreciative of them.

After returning to school on Thursday, I had to rush home and start up a baking storm. I signed up in September to be the co-chair of our MOMS (Ministry of Mothers Sharing) Group Bake Sale. We needed to raise close to $1,000 in one weekend in order to obtain our goal of buying Christmas gifts for multiple children from two local charities. I offered to bake for many different people and was planning to bake all the items over the course of a week. Considering I had spent my baking week in Virginia, I knew I had to kick in full gear in order to complete the task at hand. I stayed up until midnight on Thursday night baking S'mores Bars, Cinnamon Walnut Oat Bars, Mint Chocolate Chip Cookies, Brownie Cookies, Lemon Sugar Cookies, and Cinnamon Walnut Cookies.

On Friday after school I had to rush home to bake it up a little more. I made White Chocolate Macadamia Nut Cookies, and then went to my friend's home (who has the most AMAZING DOUBLE OVEN) to work with other MOMS friends to finish our baking. We made bread, muffins, pies, cookies, mini pies, etc. She also had these little nifty contraptions that made mini pies, cake pops, and muffins!

Over the course of the weekend Masses at church we were able to sell about $800 with of baked goods. We were happy to come so close to our goal and were very impressed with the generosity of our fellow parishioners. We know now that next time we need to bake more pies, bread, and larger cakes-- we were blown away by how many requests there were for these items.

Okay, so enough rambling... here's a recipe that I tried for the first time during my baking frenzy. After this past weekend the whisk, stand mixer, my recipe books are locked in the pantry for at least a week... I need to regain a little sanity and stop the dreams of cupcakes that overflow their wrappers... Darn muffin tops-- We women and bakers hate them for SO many reasons.


Cinnamon Walnut Oat Bars
I got the base of  the recipe off the back of the bag of cinnamon chips with a little One Smart Cookie rendition
Ingredients:
  • 1 cup butter softened 
  • 1 cup packed light brown sugar
  • 1/3 cup granulated sugar
  • 2 large eggs
  • 1 1/2 teaspoon vanilla
  • 1 1/2 cups all purpose flour
  • 1 teaspoon baking soda
  • 1/2 teaspoon pumpkin pie spice
  • 1 dash cinnamon 
  • 2 cups rolled oats
  • 3/4 cup raisins and craisins mixed
  • 1/2 cup chopped walnuts
  • 1 package 12 oz Hershey's cinnamon chips
Directions:
  1. Preheat oven to 350 and lightly grease and flour a 9x11 inch pan.
  2. In a stand mixer fitted with the paddle attachment, cream butter and sugars.
  3. Add eggs one at a time mixing well between each addition. 
  4. Add vanilla and mix until all ingredients are incorporated. 
  5. In a large mixing bowl sift together flour, baking soda, cinnamon, and pp spice.
  6. Slowly add dry ingredients to wet mixing well between each addition.
  7. Stir in cinnamon chips, walnuts, and raisins/crasins. 
  8. Add oats last.
  9. Bake for 25 minutes or until inserted tooth pick comes out clean.
These are SUPER yummy! Enjoy :)

Monday, October 8, 2012

Lovin' From the Oven's S'mores Cookie Bars

I checked planners again this week for Bakery Club and 4 of my 26 students qualified. Many students forgot to write down ALL their tests and quizzes for the week which is why BC's numbers are down this go 'round.

I asked the kids what they wanted this time (usually they are quite direct), but this time they were a bit more adventurous. I think that this is due to that fact that I made a combo brownie/cookie last time that they LOVED! I told them I had been scouring Pintrest for something yummy and "different" for them to try. They were excited to hear all of my choices, and finally settled on S'mores Cookie Bars.

This recipe comes from Lovin' from the Oven. The kids practically drooled when they heard this choice. So, Lovin' from the Oven, I'll have you know that your recipes aren't just yummy looking, but 6th Grade approved as well. Let me tell ya-- it takes A LOT to impress these guys ;)

I followed her recipe almost exactly... I will include a few tips and tricks that I used as well.

Give these a go-- they are super easy and yummy!

Ingredients:
  • 1/2 cup unsalted butter room temperature (I'm a stickler for springing for "real and good" butter)
  • 1/4 cup packed light brown sugar
  • 1/2 cup white sugar
  • 1 large egg
  • 1 teaspoon vanilla extract
  • 1 1/3 cup all purpose flour
  • 3/4 cups graham cracker crumbs (you can make your own using a food processor, or you can buy the box of graham cracker crumbs in the baking aisle for about $1-$2 less)
  • 1 teaspoon baking powder
  • 1/4 teaspoon salt
  • pinch of all spice (just because I love it!)
  • 2 king size Hershey's chocolate bars
  • 1 1/2 cup marshmallow fluff
Directions:


  1. Butter and lightly flour 8x8 pan and set aside. Preheat oven to 350.
  2. In a stand mixer fitted with the paddle attachment, cream butter, sugar, and brown sugar until light.
  3. Add egg and vanilla and continue to beat until all ingredients are incorporated. 
  4. In a large mixing bowl, whisk together flour, graham cracker crumbs, baking powder, salt, and all spice.
  5. Slowly add dry ingredients to wet ingredient, mixing until incorporated. (I use one of Doodle Bug's small plastic cups as a scoop-- easier to measure out dry ingredients when adding to wet)
  6. Split dough in half-- put 1/2 of dough in refrigerator while layering the bars. This will help the dough slightly cool and will make it easier to spread for the top layer. 
  7.  Spread 1/2 of dough into the greased 8x8 pan. 
  8. Place chocolate bars on top of the cookie dough. I had to trim one of the chocolate bars about 1/4-1/2 inch in order for them to both fit. You want a single layer-- and this layer should be no more and 1/4 inch thick.
  9. Spread marshmallow fluff on top of chocolate bars in a thin and even layer. 
  10. Lightly flour your clean kitchen counter top and take chilled dough out of refrigerator. Use floured rolling pin to help spread out cookie dough. Take pieces of dough and add them (like patchwork) to the top of the marshmallow cream. After all pieces are added you can easily and lightly press down on dough to flatten and make even. 
  11. Bake for 30 minutes until edges are slightly brown.
  12. Let cool completely before cutting. For easier cutting-- I put the cooled dish in the refrigerator for a few minutes to let the cookie bars firm up a bit! These are Ooey Gooey!!
Yield: 16 cookie bars
The finished product! Too  gooey for treat bags!

Sunday, September 23, 2012

Chewy Brownie Cookies

Bakery Club students were in a deadlock on Friday... cookies or brownies? 

At first I thought I would make a cookie cake, but then I realized... what would a cookie cake have to offer to the students wanting brownies? Okay, scratch cookie cake idea...what about brownie bites? Not quite the sweet treat the cookie students would be hoping for either.  This realization then lead me to google "brownie cookies" (while simultaneously crossing my fingers and hoping such a thing would already be in existence). Luckily, and to my delight, the Brown Eyed Baker had already taken this plunge into the big brownie or cookie debate. 


I followed her recipe, and my husband (quite the chocolate expert) approved...and approved...and (just for good measure) approved the recipe one last time. 


So, in case you get the hankerin' for a chewy brownie with a crunchy outer shell, give this recipe a GO!

Ingredients:


16 ounces bittersweet chocolate (I bought 4 Ghirardelli 4oz bittersweet chocolate baking bars)

4 Tablespoons unsalted butter (softened)
4 eggs
1-1/3 cups granulated sugar
1 teaspoon vanilla extract
1/2 cup all-purpose flour
1/2 teaspoon baking powder
1 cup semisweet chocolate chunks (that ooey gooey center)

Directions:

  1. Chop up 16 ounces bittersweet chocolate. Put butter and chopped chocolate into a heat proof bowl and double broil over simmering water. If you don't have a double broiler--I use a large soup pot and fill with about 2 inches of water. I let it come to a simmer. I put the ingredients that need to melt in a smaller pot (or any heat proof bowl). I hold the smaller bowl/pot over the simmering water and stir ingredients until completely incorporated and mixture is smooth. Put melted chocolate mixture to the side and allow it to come to room temperature. 
  2. Preheat oven to 350 and line baking sheets with parchment paper (wait until chocolate mixture is cooled)
  3. Whisk together eggs, vanilla, and sugar in a medium size mixing bowl.
  4. In a small mixing bowl, sift together flour and baking powder.
  5. Add the cooled chocolate mixture to the eggs, vanilla, and sugar mixture. Stir well to combine. 
  6. Slowly add the dry ingredients, FOLDING them into the batter. 
  7. Once the flour mixture is incorporated, add the chocolate chunks.
  8. I have a large cookie scoop, so I filled the scoop about 3/4 full for each cookie. Cookies will spread just a little, so make sure you don't place them too close together on the prepared sheets. 
  9. Bake for 10-11 minutes or until firm on the outside. DON'T over bake. Cool on baking sheets or transfer to wire cooling racks after a few minutes if you need to reuse baking sheets. 
Yield: about 28 ooey gooey brownie cookies 

**TIP- do NOT put batter into fridge in between batches. My second batch of cookies came out a little lumpy... husband says they still taste just as good, but aren't as nice looking as the first batch. 

Cookie on the right is from the first batch, and the cookie on the left is from the second batch (cooled batter). It also took about a minute longer to bake the second batch.


Friday, September 21, 2012

Bakery Club

The first few months, being a homeroom teacher to a 6th grade class is more about being their "mother" than their teacher. They are overwhelmed by the homework, the number of teachers and each teacher's particular teaching style, locker changes, folders, schedules, planner, etc. They have never had lockers before, and organization... psh, they have no idea what that word means!

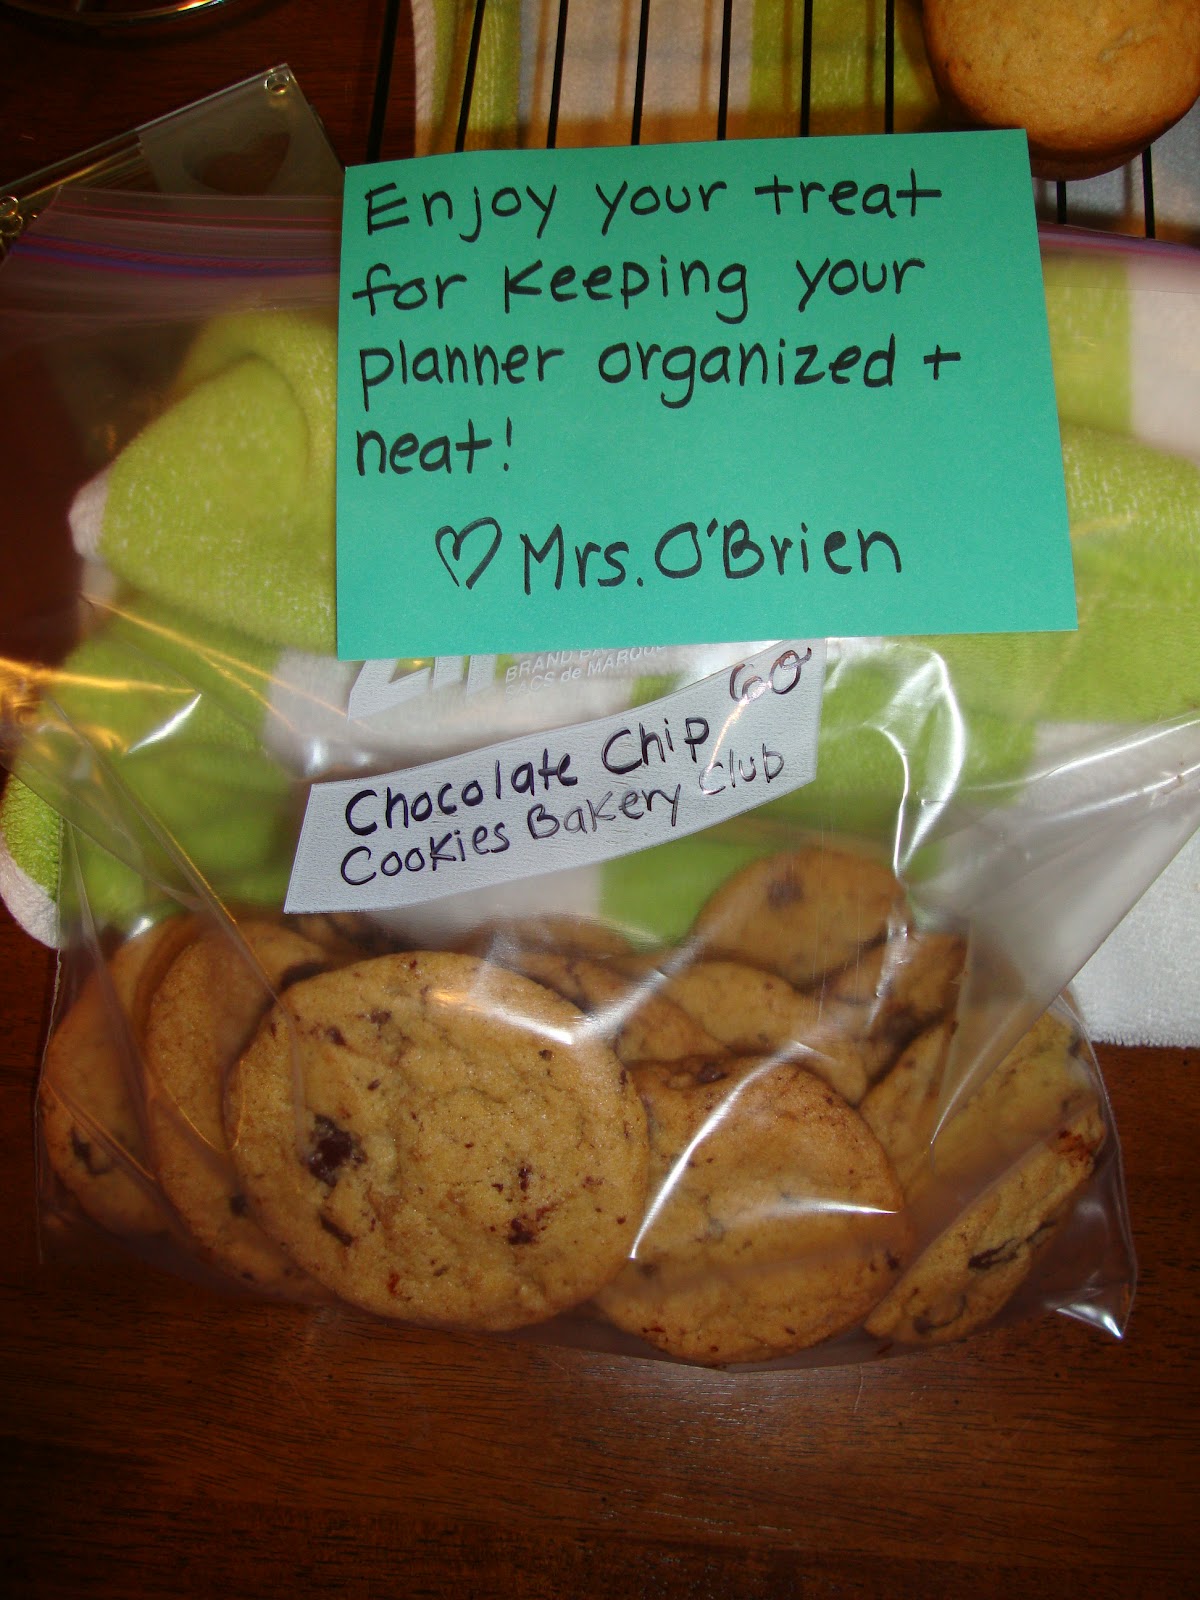
Kids like sweet and yummy homemade treats, so this year I decided to start a Bakery Club in my homeroom class.  Every few weeks I check their planners to make sure they have all their assignments, projects, tests, and quizzes written down for the week, and if they do.... they get to decide which treat they would like for me to make. 

Last Bakery Club (2 weeks ago) I made
The Tender Crumb's Chocolate Chip Cookies. The kids thought they were pretty good (they liked the amount of chocolate), but they thought they were a bit tough. That's the best part about teacher 11 year old kids- they are BLATANTLY honest. Great group to test out new recipes on! 

This time 11 out of the 24 kids in school today were able to achieve Bakery Club status. One student is lactose intolerant (and also many other allergies), so I had him tell me one of his favorite snacks that I can get from the store. The other 10 students were in a deadlock on choice of sweet. Five students wanted brownies, and five students wanted more chocolate chip cookies (but chewier)! 


So, being the tie-breaker, I chose
Brown Eyed Baker's Better than Brownies Chocolate Chip Cookies. Hopefully they will turn out well for the kids! I'll keep you posted...

Sunday, September 16, 2012

Not your normal sugar cookie

Edith Simmons' Grandma's Tea Cookies with a One Smart Cookie revision 

Grandma's Zesty Tea Cookies

Ingredients:1 stick unsalted butter
1 egg
1 cup white sugar
2 cups all purpose flour
1 teaspoon baking powder
1/8 teaspoon kosher salt
juice of 1 lemon
zest of 1 lemon

Directions: Cream butter and sugar on medium speed in your stand mixer fitted with the paddle attachment. Add egg and continue to beat. Add the juice and zest of one lemon. 

In a separate mixing bowl sift together the flour, baking powder, and salt.

Slowly add the dry ingredients to the wet-- mixing on medium low. Be extra CAREFUL to not over-mix the dough- no one wants ONE TOUGH COOKIE. 

For creating slice and bake cookies: Roll into a log and wrap in cling wrap. Chill for at least 3 hours-- best to chill overnight.

For using cookie cutters: Separate the dough into two portions. Wrap the dough in cling wrap and chill for at least 3 hours (best to chill over night).

Preheat oven to 350. After cookies have been sliced or rolled out and cut into shapes, place into fridge while oven is preheating to allow them to keep their crisp shape. 

Bake for 8-10 minutes or until edges are SLIGHTLY golden. 

Completely cool before frosting.
  

Royal Icing: I used Wilton's recipe on the meringue powder box with juice of 1/2 lemon. Icing can also be made with egg whites-- I just didn't have enough on hand at the time.
Wilton Recipe

Ingredients: 

3 Tablespoons meringue powder
4 cups confectioners' sugar 
5 Tablespoons warm water
1 Tablespoon lemon juice

Beat all ingredients in stand mixer until stiff peaks form (about 7-10 minutes on low speed)


Keep ALL utensils grease free for easy frosting.


To create outline: fill piping bag fitted with #3 piping tip 1/3 full and pipe around edges. 

To create filling/ flooding consistency: use lemon juice adding to thin icing one teaspoon at a time until reaching desired consistency.  Pour icing into a squeeze bottle and flood cookies. Use toothpick to spread icing to edges and pop air bubbles.