Wednesday, September 26, 2012

Morning Muffies

Little Miss Muffie is now starting to eat more solids due to the fact that in the past 2 1/2 months she has gone from teething zero to teething hell. Seven teeth (including 3 molars) in 10 weeks?? Am I just a naive first time mom, or is this some record of Olympic proportions?? So, if there are copious amounts of misspelled words or grammatical errors included in this post... chalk it up to serious lack of mama sleep. Yes, I know that I am an English teacher, but can't a lady get a night off?? ;)

Doodle Bug became so attached to her daily muffins that I am constantly challenging myself to find yummy new and creative ways to incorporate necessary fruits and veggies in her daily diet via muffies. For a few solid weeks muffies were ALL THE CHILD WOULD EAT! Now, even though she will eat other foods, she still loves to have her morning muffie. 


This week's muffins are inspired by
Keeping Up with the Joneses: Banana Oatmeal Muffins. If you haven't checked out that blog... what are you waiting for... hit it up right now! They seem like such a sweet/nice couple... and they have just had their first child a few days ago! How exciting :)

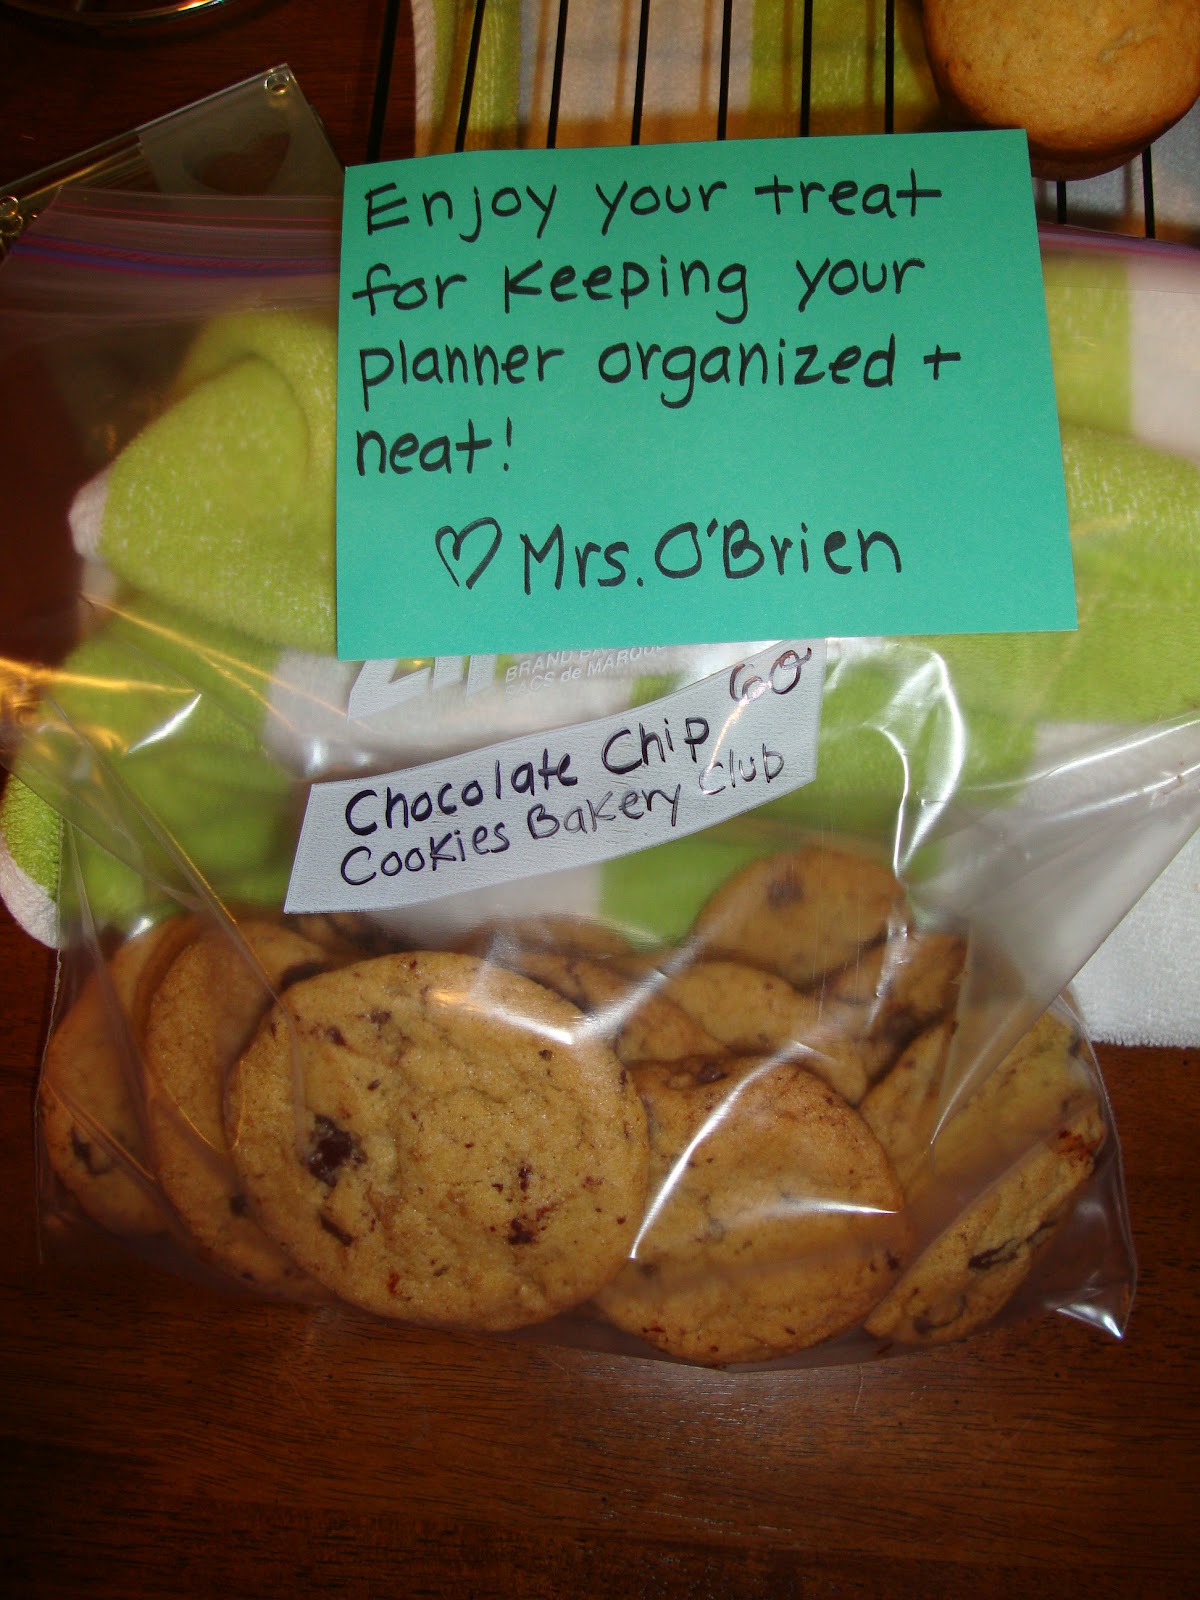
So, here's what I made for my little bug this week. Hopefully they will keep her satisfied while I am in Atlanta this weekend for a Bachelorette Party! She has mama's milk in the freezer and muffies for a treat!


One Smart Cookie rendition of Banana Oatmeal Muffins 
Lil Miss Muffie's Morning Muffie

Ingredients:


2-1/2 cups old fashioned rolled oats (not the quick cooking)

1 cup Greek yogurt
2 ripe bananas (speckled)
2 eggs
1/3 cup applesauce (I make my own, but you could easily use the prepackaged applesauce cups) This replaces the oil in the baking... yummier and healthier for Miss Muffie
3/4 cups packed brown sugar
1 teaspoon vanilla extract
1/2 teaspoon baking soda
1-1/2 teaspoon baking powder
pinch salt

Directions:
  1.  In a food processor or blender, grind up the oats... make a "flour" consistency... it will be a little lumpy. Set aside.
  2. Preheat oven to 350.
  3. In a stand mixer, beat together the brown sugar and applesauce. 
  4. Add eggs one at a time, mixing well after each addition.
  5. Add vanilla extract.
  6. In a small mixing bowl, smash bananas and stir together with Greek Yogurt. 
  7. In a medium mixing bowl whisk together oat "flour", salt, baking soda, and baking powder.
  8. Add oat mixture alternately with banana mixture to egg mixture a little bit at a time. Beat between each addition. 
  9. Spray muffin tins with non stick spray and use a large cookie scoop to fill each 3/4 full. 
  10. Cook for 20-25 minutes or until inserted tooth pick comes out clean.
Yield: about 16-17 large muffins- think perfectly baked single serving of your morning banana/brown sugar oatmeal.  This recipe tastes more like a bowl of oatmeal than a muffin.

Sunday, September 23, 2012

Chewy Brownie Cookies

Bakery Club students were in a deadlock on Friday... cookies or brownies? 

At first I thought I would make a cookie cake, but then I realized... what would a cookie cake have to offer to the students wanting brownies? Okay, scratch cookie cake idea...what about brownie bites? Not quite the sweet treat the cookie students would be hoping for either.  This realization then lead me to google "brownie cookies" (while simultaneously crossing my fingers and hoping such a thing would already be in existence). Luckily, and to my delight, the Brown Eyed Baker had already taken this plunge into the big brownie or cookie debate. 


I followed her recipe, and my husband (quite the chocolate expert) approved...and approved...and (just for good measure) approved the recipe one last time. 


So, in case you get the hankerin' for a chewy brownie with a crunchy outer shell, give this recipe a GO!

Ingredients:


16 ounces bittersweet chocolate (I bought 4 Ghirardelli 4oz bittersweet chocolate baking bars)

4 Tablespoons unsalted butter (softened)
4 eggs
1-1/3 cups granulated sugar
1 teaspoon vanilla extract
1/2 cup all-purpose flour
1/2 teaspoon baking powder
1 cup semisweet chocolate chunks (that ooey gooey center)

Directions:

  1. Chop up 16 ounces bittersweet chocolate. Put butter and chopped chocolate into a heat proof bowl and double broil over simmering water. If you don't have a double broiler--I use a large soup pot and fill with about 2 inches of water. I let it come to a simmer. I put the ingredients that need to melt in a smaller pot (or any heat proof bowl). I hold the smaller bowl/pot over the simmering water and stir ingredients until completely incorporated and mixture is smooth. Put melted chocolate mixture to the side and allow it to come to room temperature. 
  2. Preheat oven to 350 and line baking sheets with parchment paper (wait until chocolate mixture is cooled)
  3. Whisk together eggs, vanilla, and sugar in a medium size mixing bowl.
  4. In a small mixing bowl, sift together flour and baking powder.
  5. Add the cooled chocolate mixture to the eggs, vanilla, and sugar mixture. Stir well to combine. 
  6. Slowly add the dry ingredients, FOLDING them into the batter. 
  7. Once the flour mixture is incorporated, add the chocolate chunks.
  8. I have a large cookie scoop, so I filled the scoop about 3/4 full for each cookie. Cookies will spread just a little, so make sure you don't place them too close together on the prepared sheets. 
  9. Bake for 10-11 minutes or until firm on the outside. DON'T over bake. Cool on baking sheets or transfer to wire cooling racks after a few minutes if you need to reuse baking sheets. 
Yield: about 28 ooey gooey brownie cookies 

**TIP- do NOT put batter into fridge in between batches. My second batch of cookies came out a little lumpy... husband says they still taste just as good, but aren't as nice looking as the first batch. 

Cookie on the right is from the first batch, and the cookie on the left is from the second batch (cooled batter). It also took about a minute longer to bake the second batch.


Friday, September 21, 2012

Bakery Club

The first few months, being a homeroom teacher to a 6th grade class is more about being their "mother" than their teacher. They are overwhelmed by the homework, the number of teachers and each teacher's particular teaching style, locker changes, folders, schedules, planner, etc. They have never had lockers before, and organization... psh, they have no idea what that word means!

Kids like sweet and yummy homemade treats, so this year I decided to start a Bakery Club in my homeroom class.  Every few weeks I check their planners to make sure they have all their assignments, projects, tests, and quizzes written down for the week, and if they do.... they get to decide which treat they would like for me to make. 

Last Bakery Club (2 weeks ago) I made
The Tender Crumb's Chocolate Chip Cookies. The kids thought they were pretty good (they liked the amount of chocolate), but they thought they were a bit tough. That's the best part about teacher 11 year old kids- they are BLATANTLY honest. Great group to test out new recipes on! 

This time 11 out of the 24 kids in school today were able to achieve Bakery Club status. One student is lactose intolerant (and also many other allergies), so I had him tell me one of his favorite snacks that I can get from the store. The other 10 students were in a deadlock on choice of sweet. Five students wanted brownies, and five students wanted more chocolate chip cookies (but chewier)! 


So, being the tie-breaker, I chose
Brown Eyed Baker's Better than Brownies Chocolate Chip Cookies. Hopefully they will turn out well for the kids! I'll keep you posted...

Tuesday, September 18, 2012

A Baker's Wishlist

I have been blessed to have quite a stocked kitchen full of cooking and baking necessities (most of which were amazing wedding gifts and shower gifts), but there's still a few items that I WANT. Need, well no not really, but desire all the same. 

I have never been one to want for much. I buy what I need and am satisfied. I don't like clutter, and material possessions always end up piling up and creating more clutter. I have become baking obsessed here in the past few years, so I find that anytime a birthday or holiday is coming around I always ask for a random kitchen accessory. What did I ask my Husband to get me for Mother's Day? A food scale for making macarons :)

Here's my updated baker's wishlist: 

  1. I'll start with more prep space, but that's really not an option when considering the square footage of our home. Would I be happy with a kitchen that takes up half of the square footage? Yes, but would I be able to one day resell this home to someone else who is as baking obsessed as me? Most likely the answer is no.  
  2.  More kitchen aid mixing bowls. Glass, stainless, with handles and without, with lids. Oh man!   
  3. A fun color stand mixer. I have white, which is classic and beautiful, but I would love something random, flashy, and different as well. My older sister just bought a beautiful black one that sparkles... SPARKLES!  
  4. A copper bowl for making meringues and French Macarons. I had NO idea just how expensive they were until the other day!  
  5. Cookie cutters for all occasions. Currently I have letters of the alphabet, star, sun, and circles.
  6. Medium and small cookie and batter scoops. 
  7. More 9 inch round pans 
  8. A pie plate-- one thing I have yet to attempt 
  9. Pastry tips for icing cakes  
  10. Large angled spatula for icing cakes 
  11. All different types of fun decorative accents and sprinkles for cupcakes. 
  12. One more muffin pan-- would make Doodle Bug's meal preps so much easier.   
  13. New cookie sheets-- mine are so old, and have been used so often that they are not "dark," they are BLACK!
  14. My own store front... I mean... a girl can DREAM, can't she?
  15. And last, but certainly not least... an apron that isn't decorated for Christmas. Let's just say it's Christmas all year round when I'm in the kitchen.

Monday, September 17, 2012

Rainbow 1st Birthday Party

Doodle Bug turned O-N-E on July 7th, and we had a wonderful birthday party with friends, family, and copious amounts of dessert. 


I made a rainbow layer cake (inspired by Whisk Kid), tie dye cupcakes, funfetti cake pops, and a rainbow smash cake for the birthday girl. 


For these creations I did not make everything from scratch. I knew I had quite the task at hand, so I started about a month before her birthday. I used box white cake mixes for the cupcakes and layer cakes, and funfetti mixes for the cake pops. 


For the large layer cake: I used two boxes of white cake mix and just used the egg whites (in order to keep the color white).

Then I separated the mix into 6 bowls and used food coloring to tint the cake batter to the correct shades of red, orange, yellow, green, blue, and purple. Helpful hint: If you use gel food coloring the colors will be much more vibrant. 

After the layers completely cooled, I wrapped them in cling wrap and stored them in freezer bags (3 in each bag) in my deep freezer. The day of party I took them out of the freezer and let them thaw, and then I iced them with a lemon buttercream. I decorated them with Spritz Birthday Candles from Target.

I greased and floured 9 inch round pans, and then baked at 350 for about 20 minutes or until a toothpick inserted in the center came out clean.

For the small smash cake: I used one white cake mix and 6 inch rounds. I iced this cake with Martha Stewart's Basic Vanilla Buttercream
Her recipe makes a TON of buttercream! I made the whole recipe (without the vanilla) and then split it in 1/2. One 1/2 I flavored with vanilla, and used to ice the smash cake and cupcakes. The other 1/2 I flavored with fresh lemon juice and zest and iced the large layer cake. 

I piped the top of the smash cake with an extra large closed star pastry tip. I used this tip to ice the cupcakes, as well as an extra large open star tip.


For the Tie Dye Cupcakes: I used one box white cake mix with egg whites. I separated the mixture into 6 bowls and used food coloring to tint the cake batter to the correct colors. 

I lined my muffin tin with cupcake liners, and started to fill them one color at a time. I started with purple and ended with red. Spoon an equal amount of each color into the tins piling the colors on top of each other. Use 6 different spoons so you do not mix colors. After all cake batter is equally divided, take a clean tooth pick and swirl the colors (DON'T over mix). Wipe tooth pick clean between each use.  Follow baking directions for the mix used. Makes 24 cupcakes. 

I bought the rainbow toppers from Target  (Spritz brand) and then decorated with name, date, ONE, etc. 
For the Cake Pops: I made a funfetti cake mix using the directions on the box. I baked the cake in 9 inch rounds. After the cakes cooled I crumbled them into my stand mixer and turned the cake into crumbs. I added a small amount of lemon buttercream (same recipe as above). I rolled cake balls and froze them on a baking sheet lined with wax paper. When the cake balls hardened i transferred them into freezer bags until the day before the party.  used white and pink candy melts to dip them in, and various sugars and sprinkles to decorate them. 

To display them I used small cupcake liners. 


For Decorations: I bought card stock paper in all shades of the rainbow and printed out a picture of Doodle Bug from each month. I used mod podge to secure the picture to the card stock. I labeled each month with the month and year. I used a hole punch and upcycled ribbon from a Christmas gift to string the pennant. 

I also bought the Spritz Party Banner from Target and decorated it myself with her name. 


The Spritz Striped Party Hats were a hit, too.


All in all, even though it was a busy June and July full of planning, everyone had a wonderful time... especially the birthday girl herself!

Exhausted from a full day of swimming, eating, cake gorging, and present opening... we headed home... greeted by a full rainbow. 

RAINBOW 1st Birthday Party= Success!

Sunday, September 16, 2012

Not your normal sugar cookie

Edith Simmons' Grandma's Tea Cookies with a One Smart Cookie revision 

Grandma's Zesty Tea Cookies

Ingredients:1 stick unsalted butter
1 egg
1 cup white sugar
2 cups all purpose flour
1 teaspoon baking powder
1/8 teaspoon kosher salt
juice of 1 lemon
zest of 1 lemon

Directions: Cream butter and sugar on medium speed in your stand mixer fitted with the paddle attachment. Add egg and continue to beat. Add the juice and zest of one lemon. 

In a separate mixing bowl sift together the flour, baking powder, and salt.

Slowly add the dry ingredients to the wet-- mixing on medium low. Be extra CAREFUL to not over-mix the dough- no one wants ONE TOUGH COOKIE

For creating slice and bake cookies: Roll into a log and wrap in cling wrap. Chill for at least 3 hours-- best to chill overnight.

For using cookie cutters: Separate the dough into two portions. Wrap the dough in cling wrap and chill for at least 3 hours (best to chill over night).

Preheat oven to 350. After cookies have been sliced or rolled out and cut into shapes, place into fridge while oven is preheating to allow them to keep their crisp shape. 

Bake for 8-10 minutes or until edges are SLIGHTLY golden. 

Completely cool before frosting.
  

Royal Icing: I used Wilton's recipe on the meringue powder box with juice of 1/2 lemon. Icing can also be made with egg whites-- I just didn't have enough on hand at the time.
Wilton Recipe

Ingredients: 

3 Tablespoons meringue powder
4 cups confectioners' sugar 
5 Tablespoons warm water
1 Tablespoon lemon juice

Beat all ingredients in stand mixer until stiff peaks form (about 7-10 minutes on low speed)


Keep ALL utensils grease free for easy frosting.


To create outline: fill piping bag fitted with #3 piping tip 1/3 full and pipe around edges. 

To create filling/ flooding consistency: use lemon juice adding to thin icing one teaspoon at a time until reaching desired consistency.  Pour icing into a squeeze bottle and flood cookies. Use toothpick to spread icing to edges and pop air bubbles.

Saturday, September 15, 2012

German Chocolate Cake for Pop


Today was my first attempt at a German Chocolate Cake. It took me a few hours start to finish, and after many sink-fulls of dishes and one failed attempt at the frosting/filling I am finally finished. I have to say that it wasn't quite as difficult as I expected, but it surely was no walk in the park either. 

The cake smelled so yummy when it was baking that I broke down and had to have a tiny taste.I haven't had chocolate in a few years, but I made an exception tonight by trying the bits that I had to trim off the top to make the cake level...WOW!

I sure know Pop will love his birthday cake tomorrow!


I'm including the recipe I used. My MIL gave me the recipe-- it came out of one of her cookbooks. I made 1/2 the original recipe and used 6 inch rounds. The recipe below is for  three 6 inch rounds.


Cake:

1/2 4 oz package German sweet chocolate
1/4 cup water
1/2 cup butter (softened)
1 cup sugar
2 eggs, separated
1/2 teaspoon vanilla extract
1-1/4 cups cake flour
1/2 teaspoon baking soda
1/4 teaspoon salt
1/2 cup buttermilk

Frosting:

1/2 cup sugar
1/2 cup evaporated milk
1/4 cup butter
1 egg yolk (beaten)
2/3 cup flaked coconut
1/2 cup chopped pecans  
1/2 teaspoon vanilla extract
2-3 squares semisweet chocolate  


Directions:

1. Line three greased 6 inch round pans with parchment paper. Grease and flour pans and set aside.

Quick tip for cutting parchment paper for layer cakes: 
Tear off one sheet of parchment paper
Fold parchment in 1/2 and then 1/2 again


Use sharp knife to trace around the pan and then cut through. You will have 4 rounds.


2. In a double broiler, melt chocolate with water and then set aside to cool. 

3. In stand mixer, cream butter and sugar until light and fluffy. Beat in two egg yolks (one at a time) beating well after each addition. Blend in melted chocolate and vanilla. 

4. In a large bowl sift together flour, baking soda, and salt. Add the dry ingredients to the creamed mixture alternately with buttermilk. Blend well after each addition. (When adding my dry ingredients to my mixture in stand mixer I always use one of Doodle Bug's tiny cups. This allows you to add about 1/2 a cup at a time-- reducing flour spray all over the kitchen.)

Okay-- this is where it becomes a little complicated (unless you are a baller and own more than one stand mixer, but considering my husband and I are BOTH teachers... well-- I'll just have to roll up my sleeves and bust out the dish soap.
 

5. I own one stand mixer, so after step 4 I had to rinse the large bowl I used to combine my dry ingredients, and then transfer my creamed mixture to the large bowl. Set bowl aside and wash and dry stand mixer bowl. 


6. In stand mixer fitted with the whisk attachment beat 2 egg whites until stiff white peaks form (about 4-6 minutes). Fold 1/4 of the beaten egg whites into the creamed mixture. Fold in the remaining egg whites.
While in the prep stages, after I separate the eggs, I always allow egg whites to come to room temperature  before beating. Room temperature eggs whites will beat better than cold egg whites.

7. Divide mixture evenly into prepared pans.


8. Bake at 350 for 30 minutes, or until toothpick inserted in center comes out clean.  Cool in pan for 10 or so minutes before removing to continue to cool on wire cooling racks. 


Frosting: (I'm including the way I used, because the directions from the original recipe resulted in sugary scrambled eggs for me)

1. In a small saucepan melt butter and set aside to cool. Whisk together yolk, sugar, and evaporated milk.

2. Heat mixture on low whisking CONSTANTLY until mixture thickens and is golden brown
(this will take a few minutes... at least you will have a nice arm workout by the end!). Remove from heat.

3. Stir in coconut, pecans, and vanilla extract, and set aside to cool. 


Assembly: 

Level the cakes using a large serrated knife. Spoon frosting mixture between each layer and on top. Melt semisweet chocolate and drizzle down the sizes and top of cake. Sprinkle top with coconut and pecans. 

Slice and ENJOY!

Tuesday, September 11, 2012

Little Miss Muffie will only eat Muffins

 **Little Miss Muffie herself... helping to gather all the ingredients for mommy**
Lately we have been calling Doodle Bug "Little Miss Muffie" because the child will ONLY EAT MUFFINS! She is 14 months old and currently cutting two molars, so I don't blame her for the picky eating. Due to her particular palate, I have recently become more adventurous with my muffin recipes. 

Goodbye are the days of blueberry and banana.... and hello to Mama on veggie patrol. 

My MIL and I have been making muffins back and forth for the past few weeks trying to make sure Little Miss Muffie is meeting as many of her food groups as possible. 

The most recent muffin creation has come from my husband's Nana's recipe for zucchini/carrot/bran bread. Lately MIL has been sharing many of Nana's recipes-- I wish I had met her...

Here's the recipe I used:


3 eggs

1 cup fresh applesauce (instead of oil)
1 1/2 brown sugar (packed)
1 cup zucchini grated and drained
1 cup carrots grated
2 teaspoons vanilla
2 1/2 cups flour
1/2 bran cereal 
1 teaspoon baking soda
1 teaspoon baking powder
1 teaspoon salt
3 teaspoons cinnamon
1/2 teaspoon all spice

Preheat oven to 350.
In stand mixer beat eggs with applesauce. Stir in sugar, zucchini, carrots, and vanilla. 
In a large bowl sift flour, salt, baking soda, baking powder, cinnamon, and all spice.
Add bran cereal to the wet ingredients.
Mix in the dry ingredients. 

Bake in muffin tins for 30 minutes (makes 2 dozen)

Sunday, September 9, 2012

A recipe has been selected

After scouring Pinterest and various other websites for the past few days, I have finally selected the recipe I will attempt for my sugar cookie base.  

The husband, Doodle Bug (our 14 month old daughter), and I went to my parents' house today to hang out and celebrate "Grandparents Day."


-- we also did not know that this was an actual holiday until earlier this week. That is if you call Hallmark created holidays "real" holidays. Considering I was raised by a mother who once owned a Hallmark store, and Grandparents who owned 3, I figured we better get over there quick to celebrate. 


While at my parents' house my mom shared some of her favorite recipes from home. She grew up in Courtland, VA-- a small town with only a flashing yellow light. The women who surrounded my mother growing up were quite the cooks and bakers. They made everything from scratch, and didn't bat an eye at a difficult recipe. One of them was Edith Simmons, an amazing woman and close family friend who passed away in October of last year. 


The recipe I am going to use is a combination of Edith Simmons' Grandma's Tea Cookies, and my love of baking with lemon juice and zest. 


The butter is out on the kitchen counter coming to room temperature as I type this.


I went to my parents' house with just a Grandparents Day card, and left with recipes, my great grandmother's rolling pin, cookie tins, and amazing mementos from my childhood.


Saturday, September 8, 2012

I call your challenge, Royal Icing, and I raise you one sugar cookie

It's that time again... I have baking fever and the only cure is a more difficult task to challenge myself with. I love to bake, but I often become obsessed with particular skills. I am self taught, so as I'm browsing Pinterest I start to gather ideas and stalk Youtube and other baking blogs until I have read enough information or seen one too many tutorials to get the balls to try a recipe myself. 
What is my current obsession you ask? 
Sugar cookies with royal icing. 
Watch your back sugar cookies; I'm about to take you DOWN!